VALUE is defined as the relative lightness or darkness of a color. It defines form and creates spatial illusions.
CONTRAST of value separates objects in space.
GRADATION of value suggests mass and contour of a contiguous surface.
If values are close, shapes will seem to flatten out, and seem closely connected in space; none will stand out from the others. If values contrast, shapes will appear to separate in space and some will stand out from the others. This works whether the colors are just black, white and gray, or whether hues are involved.
So when I found the photograph of the barns I thought they would be perfect to do a value study of, wonderful shapes and shadows. After the value study to do the same photo in full color would be a great learning experience.

To get the different values in watercolor it is just a matter of adding water to the color you have chosen to get the different gradations. Your darkest values are from the pigment with the smallest amount of water, just enough to make it move. You can get it a little darker by doing more than one coat of paint, but be sure the first coat is really dry. The lightest values are achieved by mostly water with just a touch of pigment.
If you get too much pigment down it is easily lightened with a bit of water and dabbing with a paper towel or tissue.

In both paintings I started with the sky, wetting the area with clear water then adding a light wash of paynes grey across the top then tilted my paper so the color would run down. I wanted the darkest sky at the top of the page and then fading as it went down towards the roofs. Anywhere there was snow I left the white of the paper, so where the roof of the tallest barn meets the sky there is only a small value change between the sky and the snow on the roof. I then painted the dark roofs to get my pattern of dark and light on the paper. Then I progressively moved forward painting the back barn first then the middle and lastly the front building.
Many times as I am painting I will go back and rework an area, either lightening or darkening.

When working from a photograph like the one at left, you as the artist need to make some decisions. In this instance I chose to leave out the grass in the foreground, changed the shape of the windows and darkened the shadows a bit more. I have a tendency to go for a more dramatic feel to the colored piece, although in the value study I followed the photograph a bit more closely for values. You, as the artist, can make changes in the composition, color and atmosphere if you feel it would make a more interesting painting. The more you paint and play with the colors the more confidence you will acquire and the more fun you will have painting.


Two shot of the roofs, one showing the sky up against the snow on the roof and the other where some has either blown off or melted a bit.
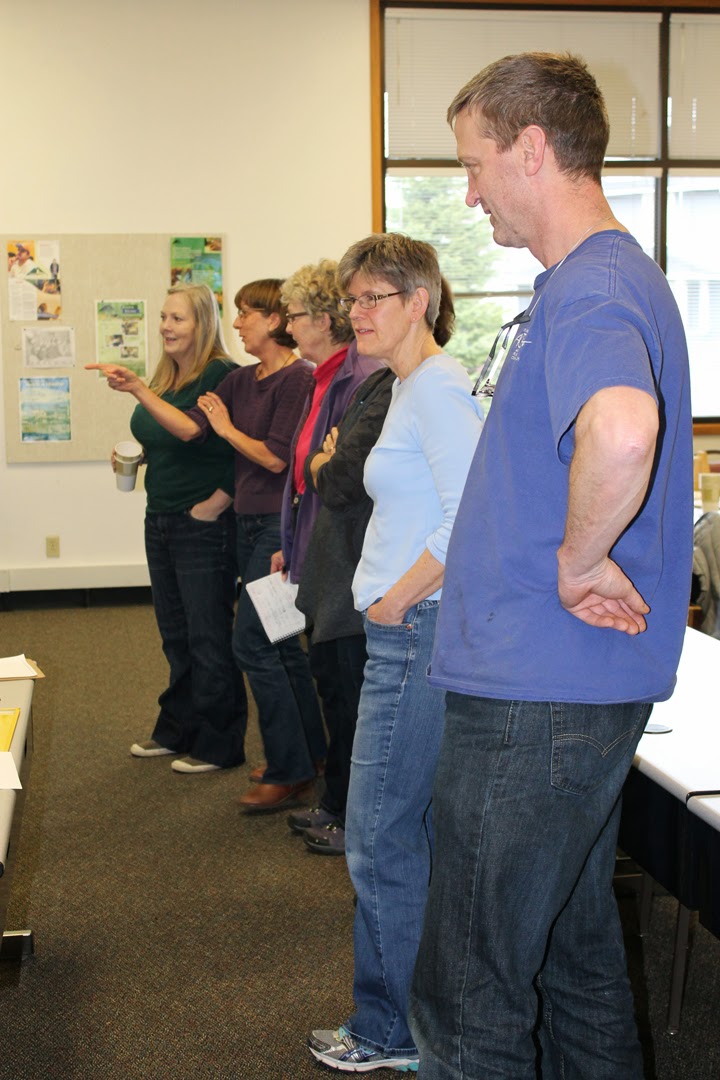 |
| Checking out everyone's paintings. |
One of the most important things you will learn from me is to NOT compare your work with anyone else. YOU are an individual and the only one to compare with is yourself. Every painting and or drawing is a learning experience, learn from your successes and your failures. There is no right way or wrong way there is only your way.
 |
| Barn paintings in work. |
 | ||
| Some of the value studies. |

 | |||
| Artists at work!! |

No comments:
Post a Comment